
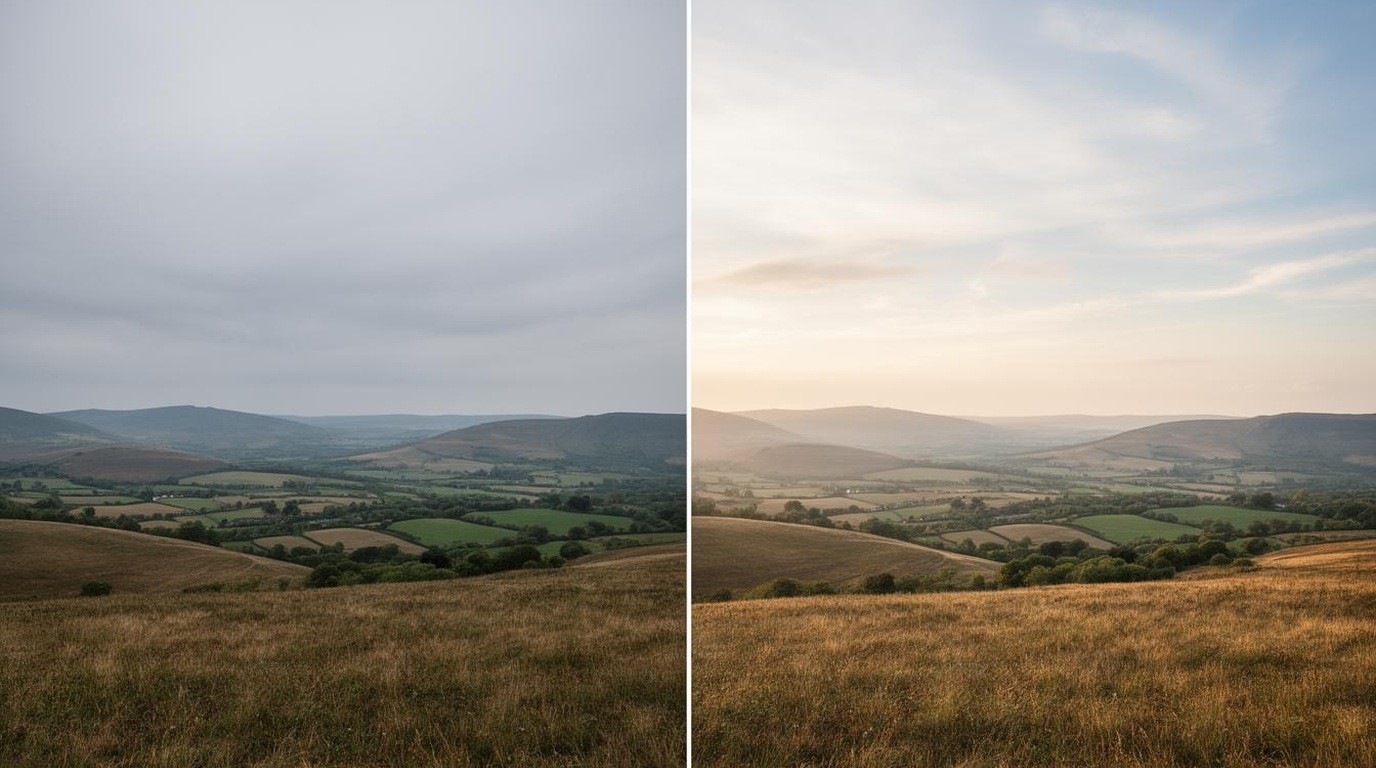
Photo editors now include features that would have seemed like magic a decade ago. A subject can be selected with a click, a dull sky can be replaced in seconds and a noisy night photograph can be cleaned with a single slider. These tools are real and useful, and they are also described with a confidence that can hide their limits. Each one works by making a guess about the image, and guesses can be wrong in ways that are obvious only when the result is printed or enlarged.
This guide explains how common AI-assisted features work in general terms, what they do well, where they fall short and how to check the result before sharing an image. It does not promise any particular result from any product, and it does not give legal or copyright advice about replacing elements in images, particularly images of people or places you do not own.
Read this if you are curious about AI photo features and want a realistic view of what they do well. You can skip it if you already use these tools and check every result at full size.
In this guide
What “AI” usually means in photo editing
In photo software, the term covers several kinds of machine learning. Some features analyze the image to find edges, faces, skies or subjects. Others predict what missing or noisy detail should look like. The software has learned patterns from large sets of images and applies them to yours. The results depend on the training, the image and the settings, and they are estimates rather than measurements.
Because the features are estimates, they should be treated as tools to speed up work, not as sources of truth. Check the result carefully at the size you intend to use.

Masking and subject selection
Automatic masking lets you select a person, an object or a sky with one click. The software draws an outline around the area and lets you adjust it separately from the rest of the image. This is faster than hand-drawn selections, and it can be very accurate on clear subjects against simple backgrounds.
The weak points are fine detail such as hair, transparent objects and busy edges. Masks can leave halos, soft edges or missing strands. Zoom in on the edges before finalizing a mask, and refine it with a brush where needed.
Sky replacement
Sky replacement swaps a dull or overcast sky for a different one. It can be effective, but it is also the feature most likely to create an unrealistic result. Lighting on the subject, reflections, haze and the direction of the light must match the new sky. A replaced sky that does not match the scene is obvious to viewers.
Consider whether the change is appropriate for the purpose. Replacing a sky to improve a holiday snapshot may be acceptable, while presenting an altered image as an unaltered record of an event may not be. We do not give advice on the ethics or legal implications of editing images. If the image is for a publication, a contest or any formal use, check the rules for that context.
Noise reduction
AI noise reduction can clean grain from a high-ISO photograph, and it can often make a grainy image look far better. The risk is loss of fine detail, which can make skin and fabric look waxy or smeared. Use the lowest effective setting, compare the result with the original at full size and keep some natural texture where it matters.
Noise reduction is often best applied to the areas that need it most, such as shadows, rather than the entire image. Many editors allow separate settings for luminance and color noise.
Other common features
- Auto adjustments choose exposure, contrast and color automatically. They are a useful starting point, but they rarely suit every image.
- Enhance details sharpens the image using learned patterns. It can add crisp edges or create artificial texture if overused.
- Object removal fills an area with predicted background. It works best on simple backgrounds and small objects.
- Upscaling increases the size of an image using prediction. It cannot add real detail, so large prints from small files will show limits.
Checking the result
Before sharing, check the image at 100 percent zoom and at the size you plan to use. Look for halos, smearing, repeated patterns, distorted lines and mismatched lighting. Compare the edited version with the original, and ask whether the change serves the photograph or merely looks impressive.
Keep the original file. Many AI edits are hard to reverse once saved, and having the original lets you start again if needed.
Privacy and data
Some AI features send images to cloud servers for processing. Check whether your photographs are uploaded, how they are stored and whether they are used to train future models. Read the vendor’s terms before uploading photographs of people, and do not upload images you do not have the right to use. We do not interpret privacy policies.
When a simple adjustment is enough
Many photographs do not need AI features at all. A well-chosen crop, a modest exposure change and a gentle contrast curve often do more for an image than a dramatic automatic edit. Start with the basic sliders and the histogram, and reach for an AI feature only when the basic tools cannot solve the problem. Simple edits are faster to make, easier to undo and less likely to look artificial.
Keeping a record of what changed
When you use an AI feature, note what you did in a sentence or two, such as the mask you used, the noise reduction setting or the sky you replaced. If you export a version for a client, a contest or a family archive, the note helps you explain the edit later. Saving the original, the edited version and a short note together makes the process clear to you and to anyone who asks.
The short version
AI photo features speed up selection, sky replacement, noise reduction and detail enhancement, but each one makes a prediction that can fail in visible ways. Use them as tools, check the result at full size, keep the original and read the data terms before uploading. The best AI edit is the one that the viewer never notices, and the photograph still looks like the moment it captured.
Takeaways
- AI features speed up masking, noise reduction and sky changes.
- Each one makes a prediction that can fail in visible ways.
- Keep the original and check the result at full size.
Thinking about the paid route? Our guide to free versus paid editors explains which features matter for hobbyists.


