
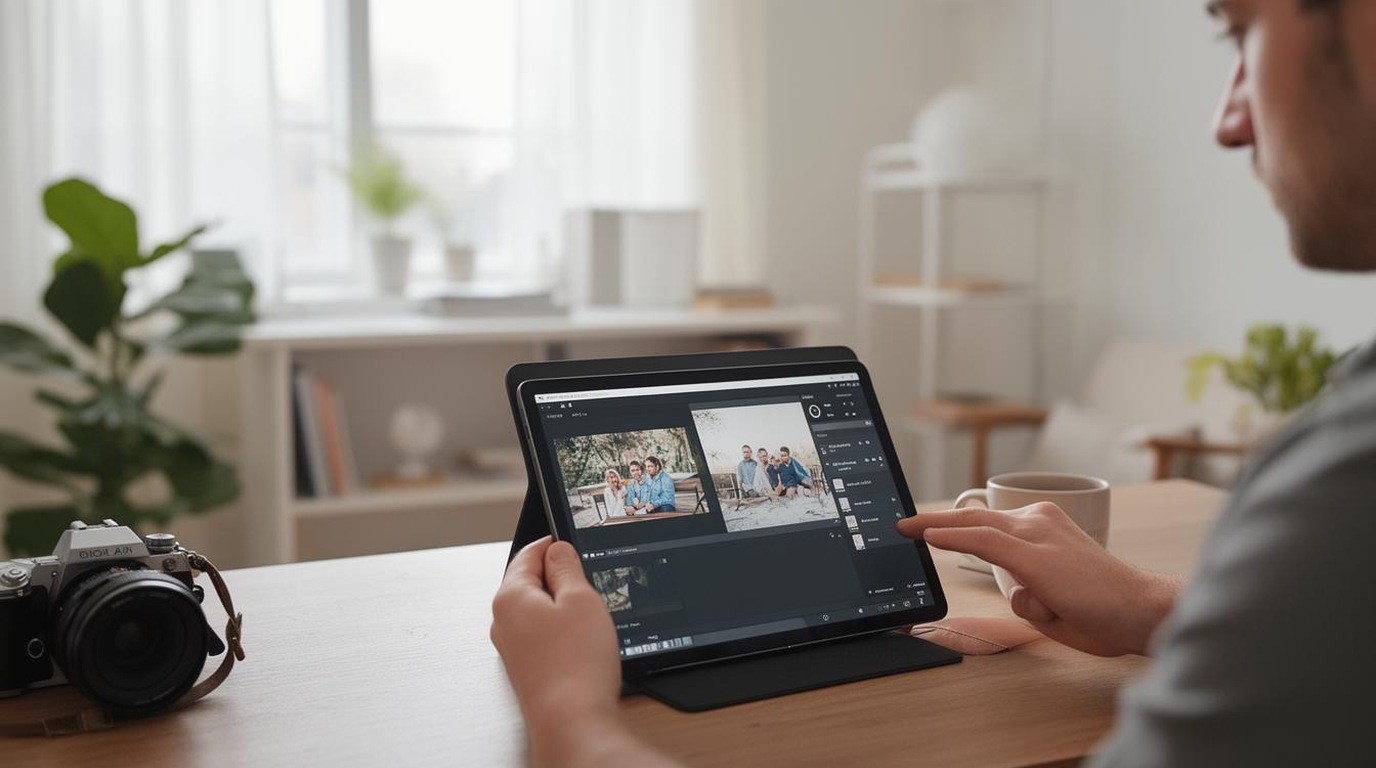
Free photo editors have improved so much that many hobbyists never need to pay for editing software. A capable free editor can handle exposure, color, cropping, basic retouching and sharing, and some offer features that paid tools charge for. The question is not whether free tools are good enough in general, but whether they include the specific features your photographs need, and whether those features are worth the subscription or license fee.
This guide compares free and paid photo editors on the features that matter to hobbyists, explains which missing features are worth paying for and which are rarely needed and suggests how to test a free tool before deciding to pay. It does not recommend specific products, and the features described are general categories rather than promises about any one program.
A hobbyist installs a free editor and gets excited by its features, then hits a watermark on export. The tool was fine for practice, but the limit was in the fine print.
In this guide
What free editors usually do well
Most free editors cover the core of photo editing. They allow basic adjustments to exposure, white balance, contrast and color. They can crop and straighten images, remove small blemishes and export files for sharing. Many can open common file formats, including some RAW formats from popular cameras.
For a hobbyist who edits a few photographs a month, these basics are often enough. A free editor is also an excellent way to learn the principles of editing before deciding how much software you need.
What paid editors often add
Paid editors typically offer more advanced tools and workflow features. These can include:
- Advanced masking, which lets you select subjects or areas precisely and adjust them.
- Professional RAW processing, with more detailed control over color and noise.
- Batch processing, which applies the same changes to many images at once.
- Cataloging and organization for large libraries.
- Presets and profiles that are more extensive or better designed.
- Better support for new camera models and formats.
- Advanced retouching tools for portraits and product work.
The value of these features depends on how you shoot. A hobbyist who photographs family events may need batch processing, while someone who photographs landscapes may value advanced masking more.
Missing features that matter
Ask yourself which tasks take you the longest. If you edit hundreds of photos from a holiday, batch processing and organization may save hours. If you want to change the sky in a single landscape, advanced masking may matter more. If you shoot portraits and want to refine skin and lighting, retouching tools may be valuable.
Some missing features are rarely needed. Heavy layers and compositing may be unnecessary for a family album, and specialist color grading tools may be more than a hobbyist wants.
Questions to ask about any free editor
- Does it support RAW files from my camera, and is support kept up to date?
- Does it export the file formats I need, with the quality I want?
- Can I back up and restore my edits and presets?
- Does it have ads, data collection or in-app purchases that change the experience?
- Is the software updated regularly, and what does the developer say about future support?
Read the privacy policy before uploading photographs to a free service, especially if the images include people. We do not interpret privacy policies, and the vendor’s terms are the ones that apply.
Testing a free tool properly
Before deciding, test a free tool with your own photographs. Edit a few images from start to finish, including a difficult one such as a backlit portrait or a dark landscape. Note how long each edit takes and whether the tools you need are available. Export the result and check it at full size. If you find yourself wishing for a missing feature repeatedly, that is a reason to consider a paid option.
Paying for a tool you will use
If you decide to pay, choose the tool that solves your most common problem, rather than the one with the longest feature list. A paid editor is worth its cost when it saves time on work you do every week. Check the price and the terms, and see our guide to subscriptions and one-time licenses for how to total the cost over several years.
Combining tools
Some photographers use a free editor for quick edits and a paid tool for important images. This approach keeps costs low while giving access to advanced features when needed. Make sure the files move smoothly between the two tools, and keep an eye on compatibility when either one updates.
Export limits and watermarks
Some free editors add a watermark to exported images, limit the resolution or restrict the number of files you can export each month. These limits are often described in small print or appear only when you try to export a finished image. Test an export at the full size you need, and check for a watermark before you rely on the tool for an important picture. The cost of removing a limit may be a better reason to pay than any single feature.
Learning curve and support
A free tool may have fewer tutorials, a smaller user community and slower support. Paid tools usually offer more guides, video courses and direct help, which can save time when a problem appears on a deadline. Look for an active forum, recent video tutorials and clear documentation before deciding. If a free tool is well documented, the learning curve may be manageable. If it is not, the time spent searching for answers has a real cost.
Bottom line
Free editors handle the basics well and may be all a hobbyist needs. Paid editors add advanced masking, batch processing, organization and better support for new cameras. Decide which missing features would save you time, test a free tool with your own photographs and read the privacy and support terms before uploading or paying. Choose the tool that fits your photographs, not the one with the most features on the page.
Free editor mistakes
- Judging a free tool by its features alone.
- Ignoring export limits and watermarks.
- Skipping the learning curve and support check.
- Uploading private photographs without reading the data terms.


